CD/DVD Label Applicator Tool Compatible with and 12 similar items
CD/DVD Label Applicator Tool Compatible with Standard and Full-Face Disc Labels
Share & earn! Sign in, share this or any listing, and you’ll get commission when it sells.
Learn more
View full item details »

Shipping options
Estimated to arrive by Fri, Mar 13th.
Details
$3.40 via USPS Media Mail (2 to 9 business days) to United States
Offer policy
OBO - Seller accepts offers on this item.
Details
Return policy
Full refund available within 30 days
Purchase protection
Payment options
PayPal accepted
PayPal Credit accepted
Venmo accepted
PayPal, MasterCard, Visa, Discover, and American Express accepted
Maestro accepted
Amazon Pay accepted
Nuvei accepted
View full item details »
Shipping options
Estimated to arrive by Fri, Mar 13th.
Details
$3.40 via USPS Media Mail (2 to 9 business days) to United States
Offer policy
OBO - Seller accepts offers on this item.
Details
Return policy
Full refund available within 30 days
Purchase protection
Payment options
PayPal accepted
PayPal Credit accepted
Venmo accepted
PayPal, MasterCard, Visa, Discover, and American Express accepted
Maestro accepted
Amazon Pay accepted
Nuvei accepted
Item traits
| Category: | |
|---|---|
| Quantity Available: |
458 in stock |
| Condition: |
New |
| Colors: |
Listing details
| Seller policies: | |
|---|---|
| Shipping discount: |
Free shipping on orders over $30.00 |
| Posted for sale: |
More than a week ago |
| Item number: |
1768176978 |
Item description
We provide 3d printing and shipping services for:
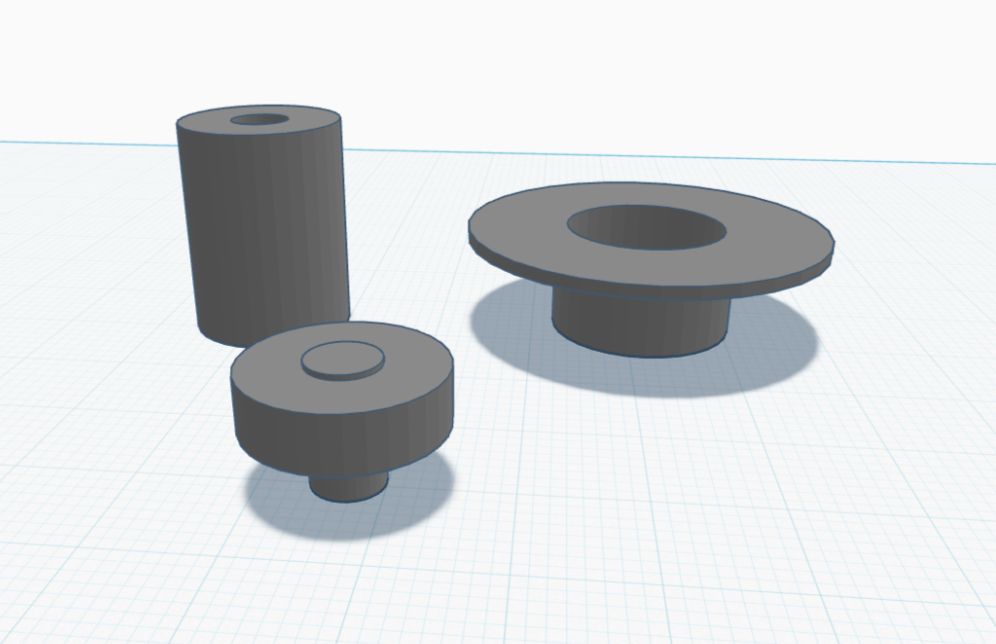
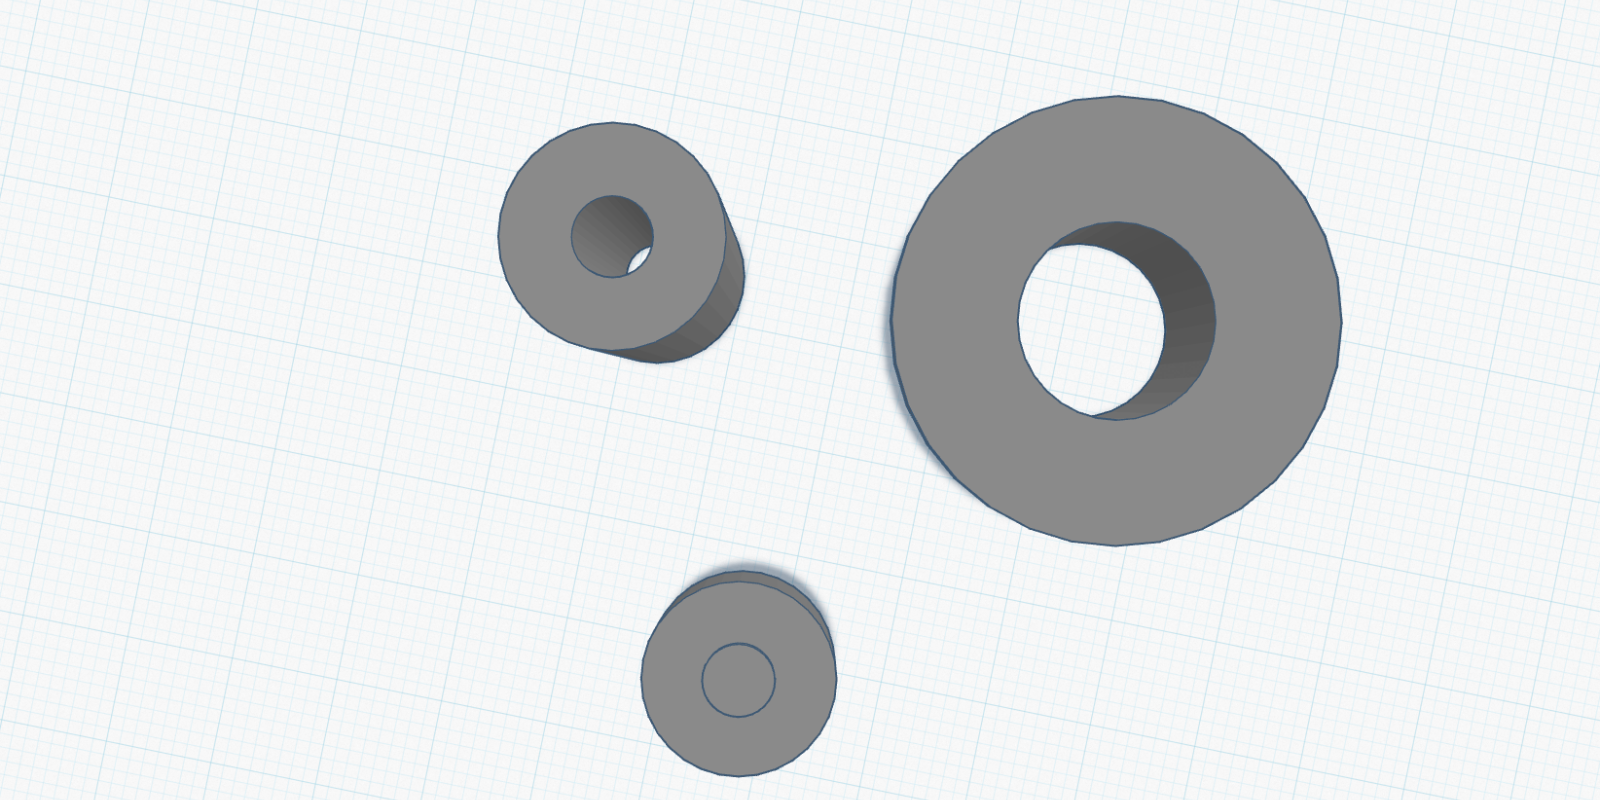
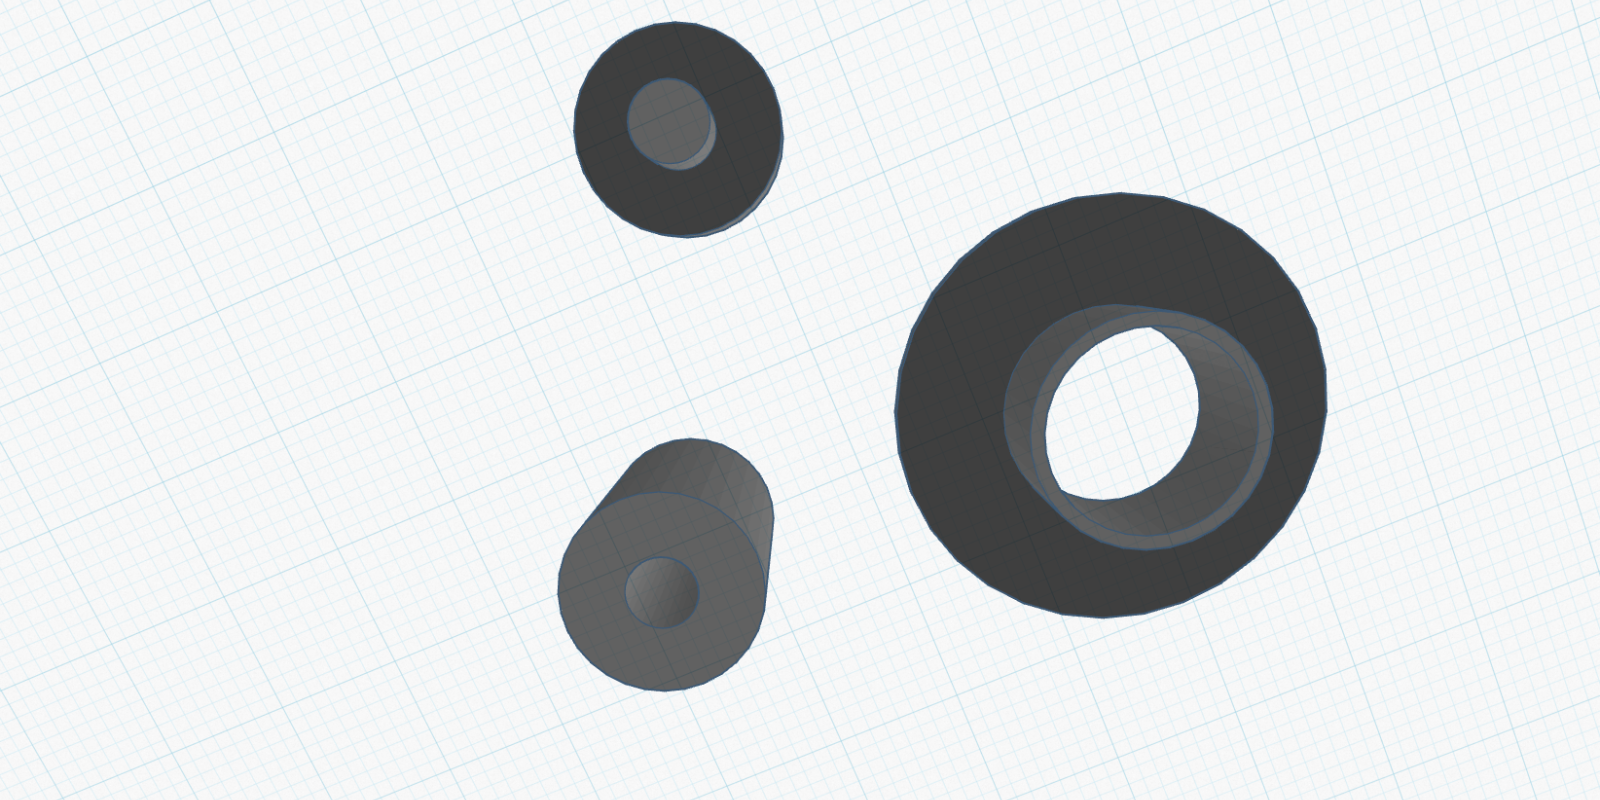
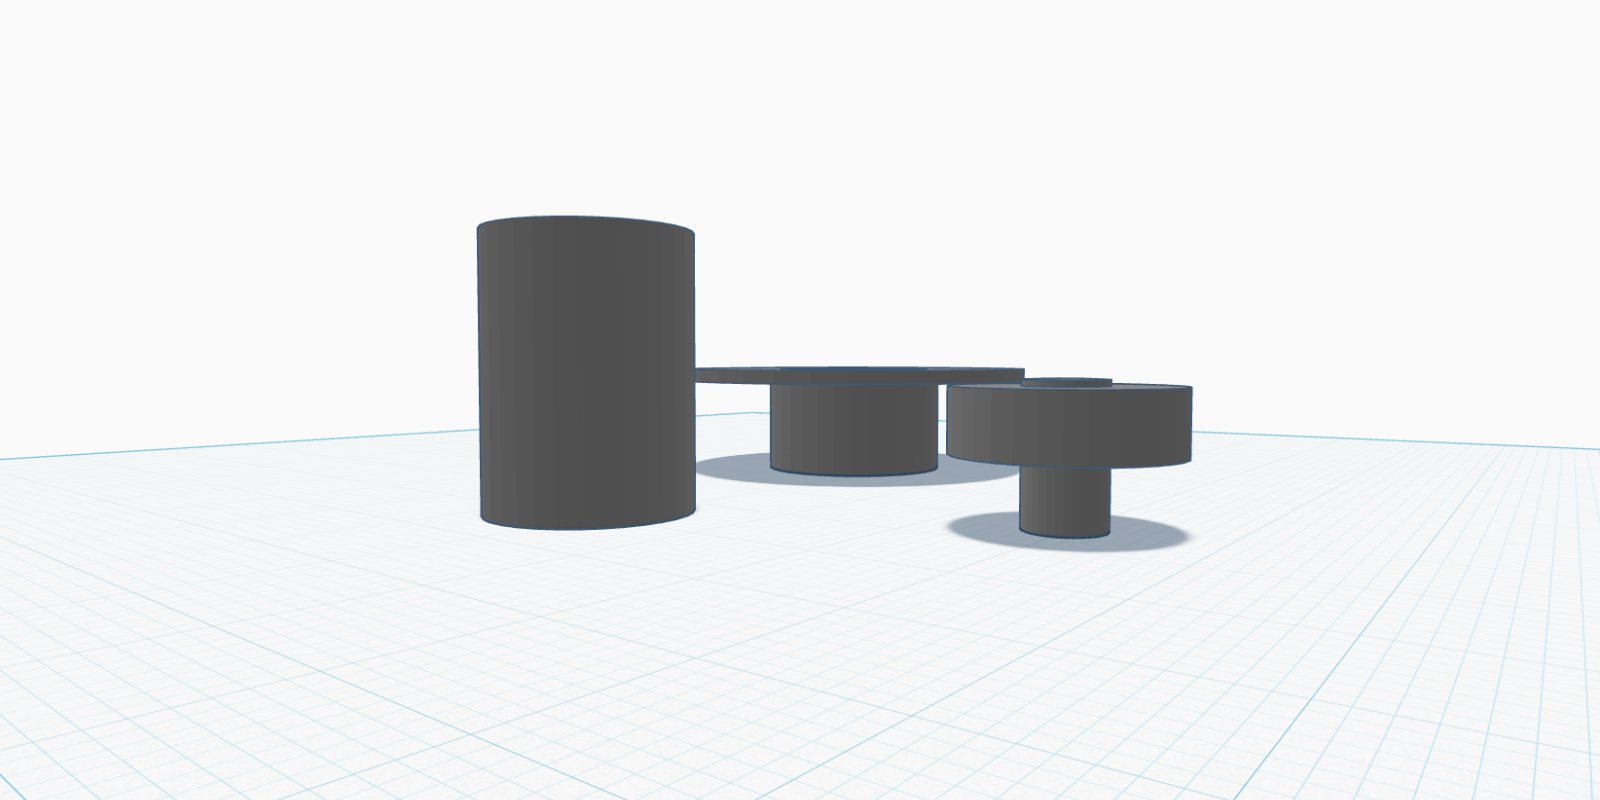
Professional disc labeling tool designed to work with both standard (15mm) and full-face (41mm) disc labels. Features a three-part system including alignment pin, centering tube, and pressure distributor for bubble-free application.
CAUTION
basics safety for data and materials aka how to not ruin your archives
To securely stick labels to discs you need to keep focus, patience and be as much precise as you can
unprecisely centered label could damage your drive due to vibrations coming from rotating unbalanced mass
Note that in most cases you have only one chance to stick your label onto a disc - peeling off a label could accidentaly rip of data layer of your disc causing irreversible damages of disc and data loss.
Try not to bend your disc. Tightening the sticking should always be done with counterforce to avoid disc material stresses.
You're doing it on your own risk.
Only printed parts, hardware NOT included.
Instructions
The way you can use depends on what you have available at hand.
#1 - Full-face label (15/116), standalone method
You'll need only part A [pin]
Put A [Pin] on table with long pin facing up (low-socle side facing down).
Put your disc with label side facing up.
Take label from printed sheet. It should be probably slightly bended due to peeloff operation).
Put label on pin, ensure it's well aligned. The label should still be little bended.
There can be some looses caused by different label inner cut. In this case simply keep the gap consistent all round.
Slide bended label down to slightly touch surface of disc with ridge - sticking area should look like line and stick not so well so it can be reeadjusted without risking damaging a disc.
If first sticking stage run successfully you can tighten the sticking near the pin (in the area that is supported by part A [Pin]) and release rest of label.
Now with secured position of label remove entire disc from part A [Pin] and tighten the sticking on entire surface of disc.
#2 - Standard label (41/116), standalone method
You'll need all three parts (or only A [pin] and B [Aligner])
Put A [Pin] on table with long pin facing up (low-socle side facing down).
Put your disc with label side facing up.
Put B [Aligner] on A [pin] and push to close the gap near disc surfaces.
Take label from printed sheet. It should be probably slightly bended due to peeloff operation).
Put label on B [Aligner], ensure it's well aligned. The label should still be little bended.
If label has ca. 41mm inner cut it should sit in the middle of Aligner itself. If it's bigger you should hold it mid-air manually
Optionally - get C [Pusher], put on B [Aligner] flat side down and hold label by its edges under the C [Pusher]. Then lower C [Pusher] within label until it touches surface of disc.
If not using C [Pusher] lower the sticker to slightly touch surface of disc with bending ridge of label - sticking area should look like line and stick not so well so it can be readjusted without risking damaging a disc.
If first sticking stage run successfully you can tighten the sticking near the B [Aligner] avoiding disc bending.
Now with secured position of label remove entire disc from applicator and tighten the sticking on entire surface of disc.
#3 - Standard label (41/116), stable surface, some kind of scratch and bend safe
You'll need all three parts or only part A [Pin]. It's good to have additional soft cloth or some kind of surface that is safe for data side of disc and won't scratch it. (I used clean microfiber cloth)
Put single layer of cloth on flat surface
On cloth put disc with label side facing up
Take part A [Pin] or connected part A and B [Pin+Aligner] (safer and easier) and put it on disc socle-side facing down.
Take label from printed sheet and put it on Aligner/Pin
Optionally - get C [Pusher], put on B [Aligner] flat side down and hold label by its edges under the C [Pusher]. Then lower C [Pusher] within label until it touches surface of disc.
If not using C [Pusher] lower the sticker to slightly touch surface of disc with bending ridge of label - sticking area should look like line and stick not so well so it can be readjusted without risking damaging a disc.
If first sticking stage run successfully you can tighten the sticking near the A [Pin]. Disc sits on cloth and should be protected from scratches and bending even when pressing directly.
Now with secured position of label remove entire disc from applicator and tighten the sticking on entire surface of disc.
#4 - Standard label (41/116), using cakebox spindle
For this method you'll need cakebox spindle, part B [Aligner] and optionally part C [Pusher]
Put disc on spindle with label-side facing up. To additionally separate disc surface from bottom of cakebox you can use distance sponge often used in cakeboxes. It's not necessary because cakebox often has some kind of separation bulge at bottom at the bottom of box.
Put B [Aligner] on spindle and push to close the gap near disc surfaces.
Repeat steps 3-10 from #2 method

|


-
Refine your browsing experience
We can show you more items that are exactly like the original item, or we can show you items that are similar in spirit. By default we show you a mix.
This item has been added to your cart
 CD/DVD Label Applicator Tool Compatible with Standard and Full-Face Disc Labels added to cart.
458 available in stock
CD/DVD Label Applicator Tool Compatible with Standard and Full-Face Disc Labels added to cart.
458 available in stock
View Cart or continue shopping.
 Please wait while we finish adding this item to your cart.
Get an item reminder
We'll email you a link to your item now and follow up with a single reminder (if you'd like one). That's it! No spam, no hassle.
Already have an account?
Log in and add this item to your wish list.